

How to Install Drip Irrigation for Your Beds (DIY Guide, and When to Call a Pro)
By Ken Erickson · Updated June 2026
Drip irrigation for garden beds puts water right at the roots and cuts your watering in half. If you are hand-watering beds or running a spray zone over your shrubs, you are working too hard and wasting water. Drip irrigation puts the water exactly where the plant needs it – at the roots – and once it is set up it runs itself. It is also one of the more DIY-friendly projects out there. Here is how to put in a bed system yourself, and where it makes sense to hand it to us instead.
Key takeaways
- Drip beats spray for beds and new shrubs – it waters the roots, not the leaves, runs 90 to 95 percent efficient, and keeps foliage dry so you get less disease and fewer weeds.
- The core parts, in order from the spigot: backflow preventer, filter, pressure regulator, half-inch mainline, quarter-inch microtubing, emitters, end caps, and a timer.
- A pressure regulator and a filter are not optional – skipping them is what causes blowouts and clogged emitters.
- Match the emitter to the plant, and in our clay soil water slow and deep so it soaks in instead of running off.
- In North Carolina, drain or blow out the lines before the first hard freeze – usually late November to early December – so trapped water does not crack the fittings.
Drip Irrigation for Garden Beds: Why It Beats Spray
Spray heads throw water over everything – leaves, mulch, bare dirt between plants – and a big chunk of it evaporates or drifts before it ever reaches a root. Drip is different. It drips water slowly right at each plant, so almost all of it soaks in. University sources put drip around 90 to 95 percent efficient versus spray, which loses a third or more.
Beyond the water savings, drip keeps the foliage dry, which cuts down on the fungal diseases that thrive on wet leaves. And because it only waters your plants and not the open ground, you are not irrigating weed seeds. For shrub beds and especially new plantings that need steady water the first year, drip is the easy, low-effort answer.
The parts you need for a bed drip system
It looks like a lot of little pieces, but they go together in a set order from the spigot out:
Part | What it does | Note |
|---|---|---|
Backflow preventer | Keeps bed water from siphoning back into your house supply | Threads on first; often required by code |
Filter | Screens out sediment so the tiny emitters do not clog | Required – clogging is the number-one drip failure |
Pressure regulator | Drops household pressure down to the drip range | Aim for 20 to 30 psi; too much pressure pops fittings |
Half-inch poly mainline | Carries water along the bed | The backbone tubing you branch off of |
Quarter-inch microtubing + emitters | Delivers water to each plant’s roots | Sized by plant; runs under the mulch |
End cap + goof plugs | Closes the tubing ends and plugs mistakes | Barbed fittings – no glue or tape needed |
Timer (optional) | Automates deep, infrequent watering | Set it to run longer, fewer days a week |
How to install drip irrigation, step by step
Sketch the bed first and note where each plant sits. Then:
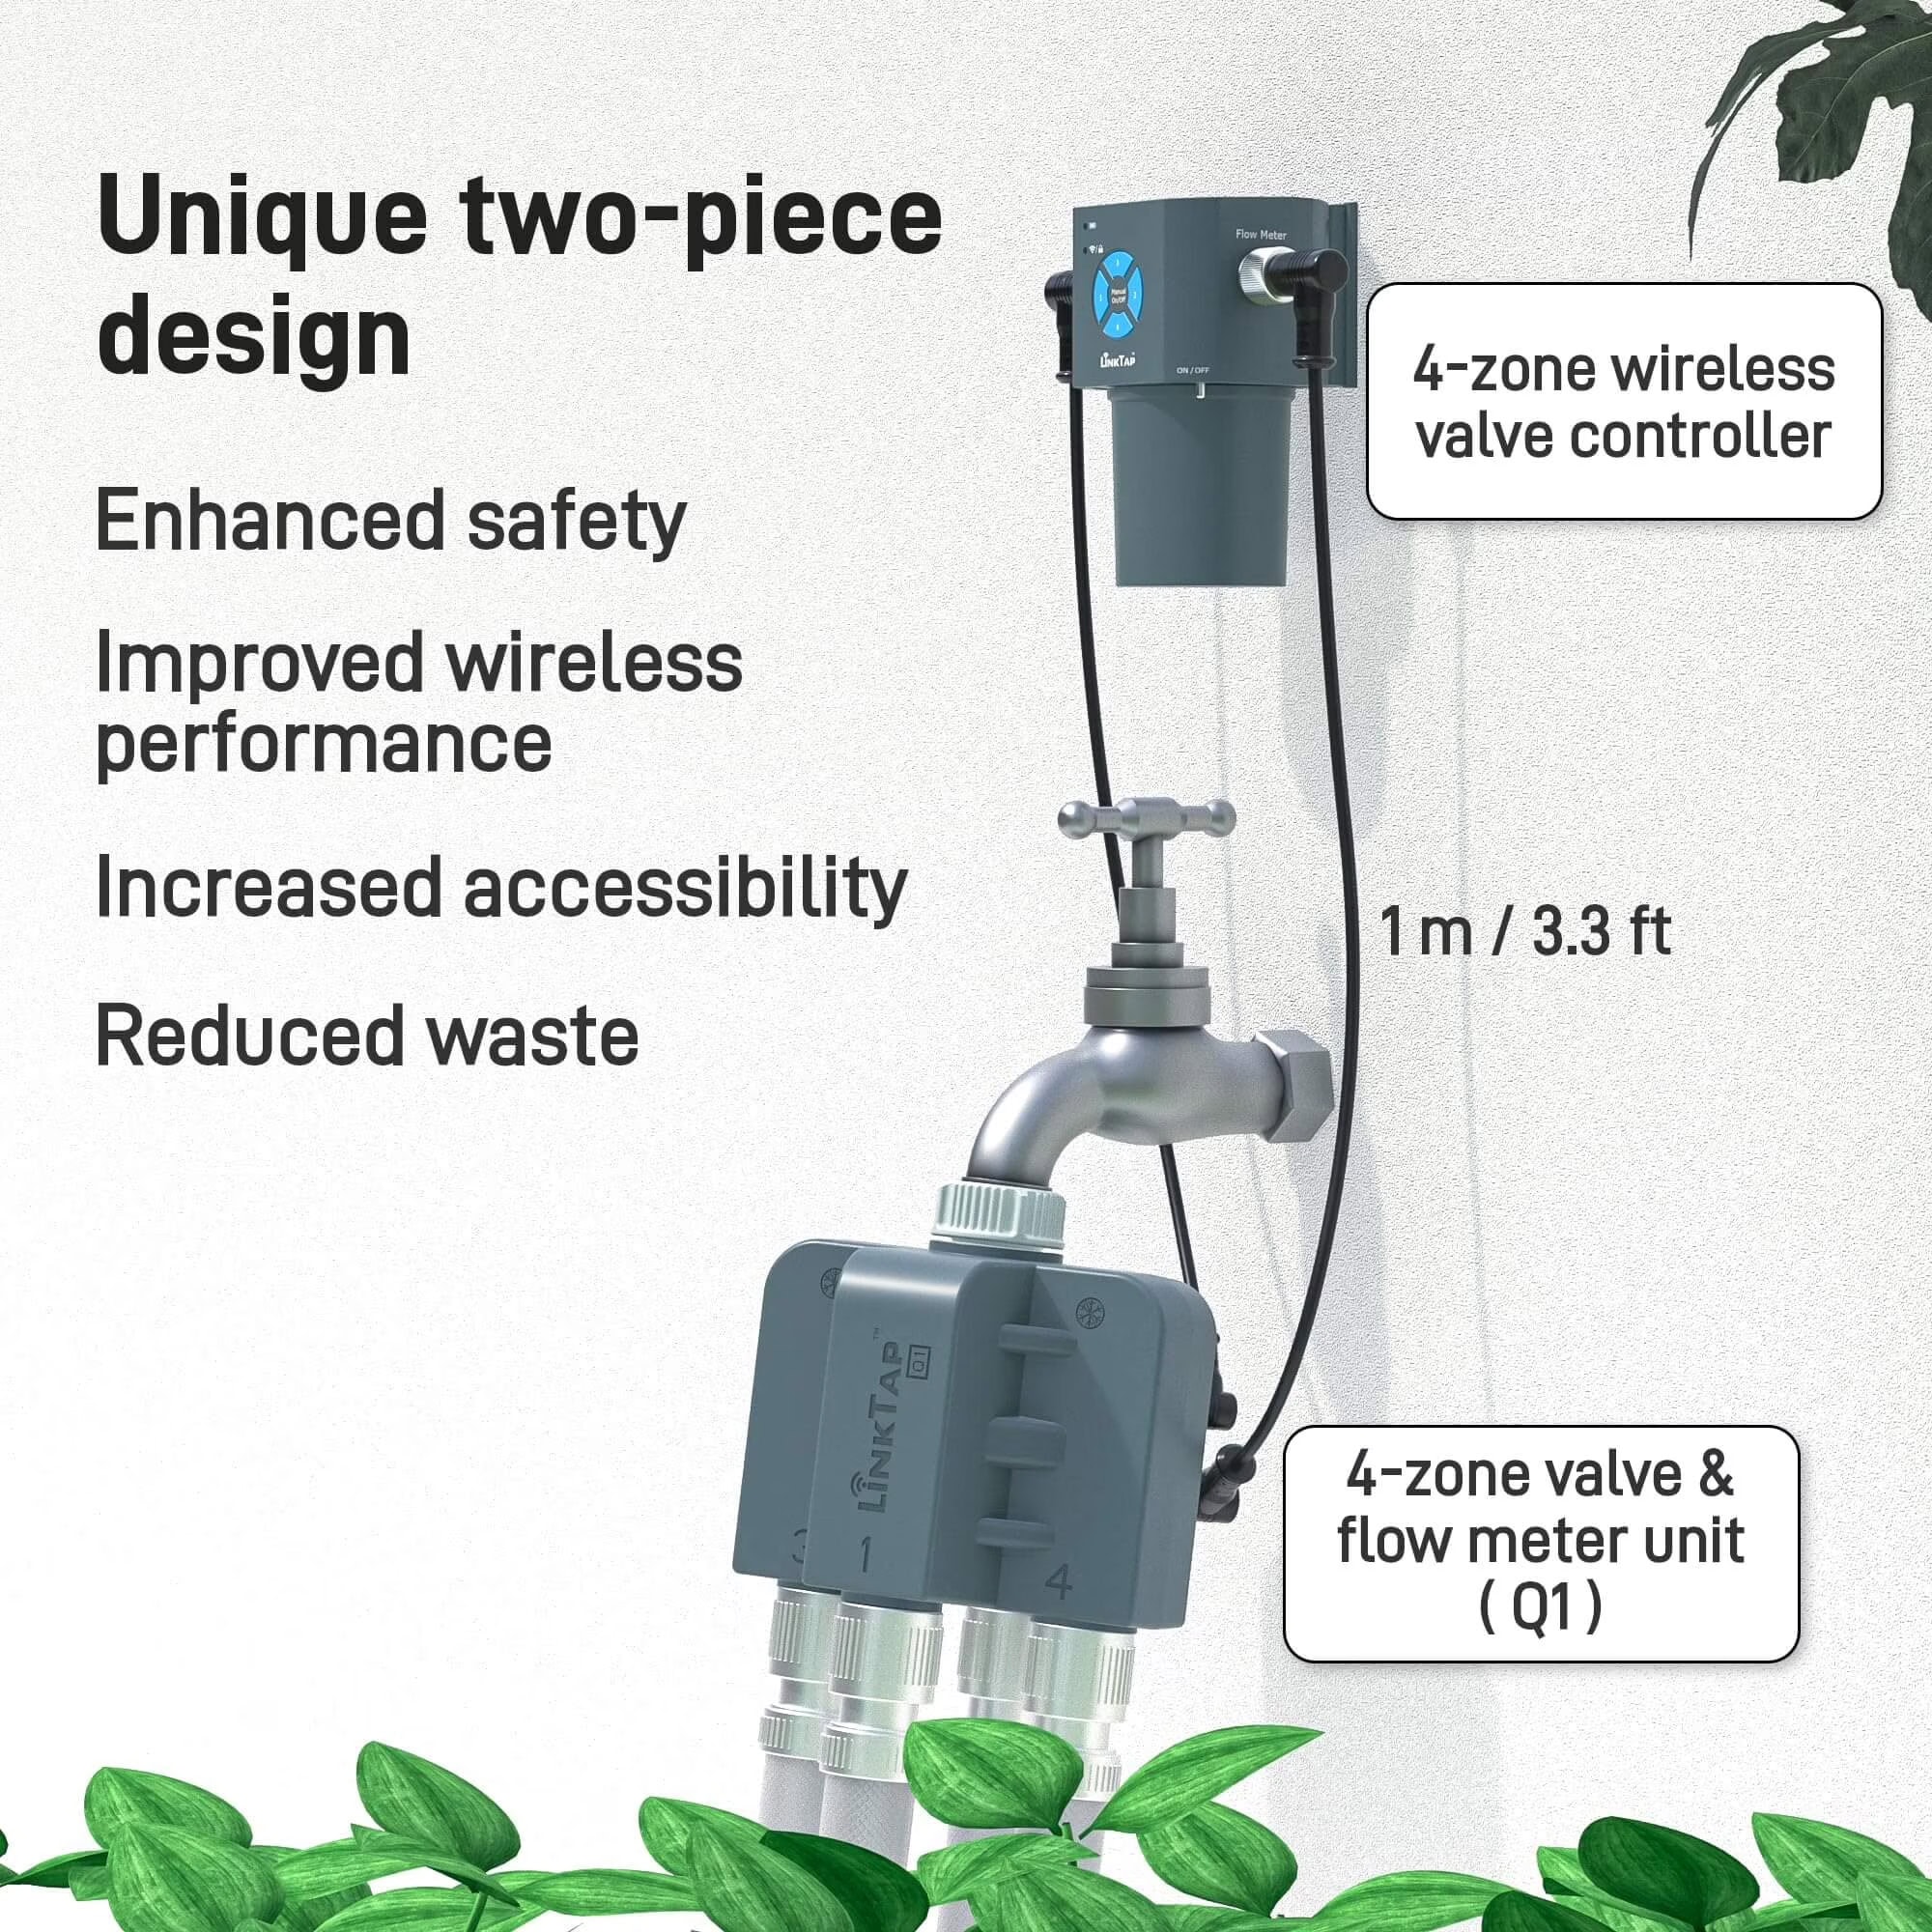
• Build the head assembly at the spigot: backflow preventer, then filter, then pressure regulator, then a timer if you are using one.
• Run the half-inch mainline through the bed, roughly following your plants. Let it warm in the sun a few minutes first so it is easy to bend.
• Punch in and run quarter-inch microtubing from the mainline to each plant, and add the emitters.
• Cap the ends, turn it on, and walk the whole line looking for leaks or mis-punched holes – plug any with goof plugs.
• Once it checks out, cover the mainline with mulch. Keep the emitters on top of the soil and under the mulch, not buried.
How to lay it out: shrubs vs. a full bed
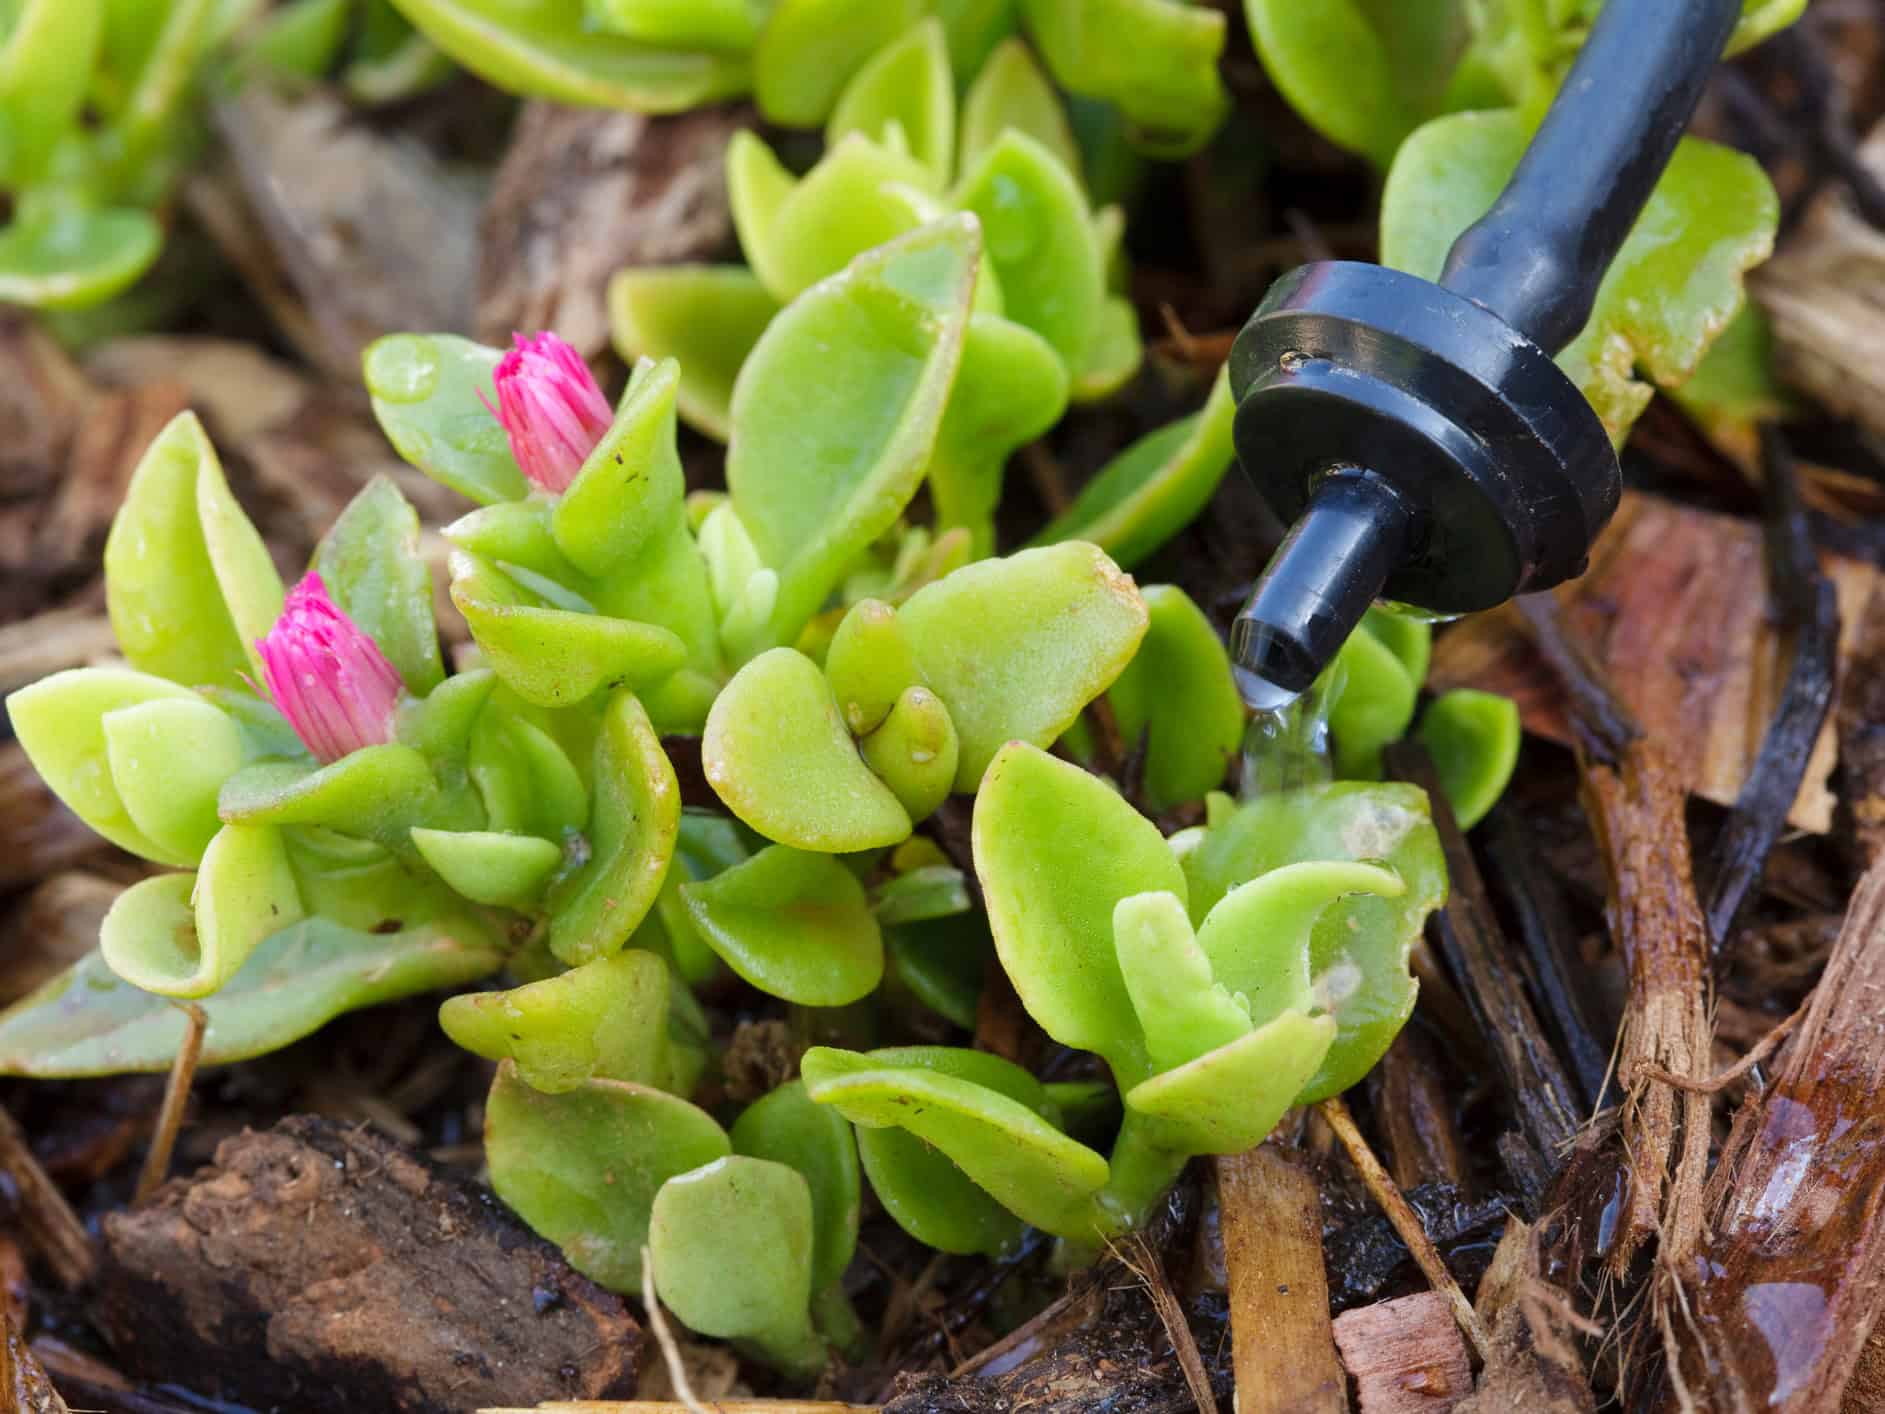
For spaced-out shrubs and perennials, run a line past each plant and put an emitter or two right at the root zone, sized to the plant – a small flower needs less water than a shrub, and a small tree wants a couple of emitters around it. For a dense bed or groundcover, it is easier to run inline emitter tubing (dripline) back and forth across the whole bed with the emitters built in every 12 to 18 inches, so the entire bed gets even coverage.
How long to run it in North Carolina clay
Water deeply and infrequently – that is the rule for any established planting. In our heavy clay it comes with a twist: clay takes water slowly, so if you dump it on fast it runs off instead of soaking in. The fix is low-flow emitters and longer run times, letting the water trickle in until the soil is wet several inches down. A new shrub or tree needs consistent deep watering through its whole first year while the roots establish; after that you can back off. Adjust for heat and rain – drip is not fire-and-forget in a drought.

Winterizing drip irrigation in NC
Before the first hard freeze – usually late November into early December around here – get the water out of the system. Drain the lines or blow them out with air, and disconnect any above-ground filter and regulator. Water left sitting in the fittings freezes, expands, and cracks them, and you find out in spring when half your emitters are shooting geysers. Five minutes in the fall saves that headache.
Common mistakes – and when to call a pro
The usual mistakes are all avoidable: too much pressure with no regulator, no filter so the emitters clog, and burying the emitters where dirt and roots plug them. Get those three right and a simple bed system will run for years.
Honestly, a bed or two is a great weekend DIY – do it yourself and save the money. Where people hand it off to us is the bigger stuff: zoning a whole property, tying into an existing irrigation system, the backflow and code piece, and the seasonal blow-out. If that is where you are, or you just want it done right the first time, that is our drip irrigation service. Text us at 984-284-5399 and we will take a look.
Frequently Asked Questions
Want Your Beds on Drip – Done Right?
A bed or two is a great DIY project. For a whole-property system, the backflow and code piece, or the seasonal blow-out, that is our drip irrigation service. Text us and we will take a look.
Sources
Clemson Cooperative Extension HGIC – Landscape Irrigation Equipment: Drip Irrigation
Rain Bird – Homeowner Drip Irrigation Guides
DIG Corporation – Introduction to Drip Irrigation
Utah State University Extension – The Do-It-Yourself Guide to Backyard Drip Irrigation
