

Low Voltage Landscape Lighting: A North Carolina Homeowner’s Guide
By Ken Erickson · Updated July 2026
What Low-Voltage Landscape Lighting Is
Low-voltage landscape lighting runs on 12 volts. A transformer sits near the house, takes the 120 volts from your panel, and steps it down to 12. That lower voltage is the whole point — safe to work around, gentle on the buried wire, and still bright enough to drive modern LED fixtures. Nearly every quality residential system installed today is low-voltage.
A system has four parts: the transformer, the buried wire, the fixtures, and a controller. Get those right and it runs every night for years with almost no attention; get them wrong and you are replacing parts in three seasons. For what a full system costs, see our landscape lighting cost guide, and the full service on our landscape lighting page.
Key takeaways
- Low-voltage lighting runs on 12 volts, stepped down from 120V by a transformer — the safe, professional standard, and what we install across Raleigh’s southern suburbs.
- We build with solid brass fixtures and LED lamps: brass lasts 15 to 25 years; LEDs use about 75% less power and run 25,000 to 50,000 hours.
- Low-voltage beats solar on brightness, reliability, and lifespan, and beats line-voltage on safety and install cost.
- The look comes from technique, not fixture count — uplighting, moonlighting, path and step, and wall wash each do a specific job.
Why Low-Voltage Beats Solar and Line-Voltage
Solar is tempting because there is no wiring, but its output depends entirely on how much sun the panel caught that day. Through a string of cloudy Carolina winter days, solar lights dim early or quit, and the batteries wear out every one to two years. Solar rarely matches the brightness of a wired 12V fixture.
It is fine for a few decorative stake lights. It is not a landscape lighting system.
The Line-Voltage Exception
Line-voltage runs fixtures straight off 120 volts. It is bright, but it carries real shock and fire risk outdoors, usually needs conduit and a licensed electrician, and costs more to install. Low-voltage gives you the same LED brightness with far less risk and lower cost, which is why it is the standard.
Factor | Low-Voltage (12V) | Solar | Line-Voltage (120V) |
|---|---|---|---|
Brightness | Strong every night | Weak, drops when cloudy | Strong |
Lifespan | LED 25k–50k hrs; brass 15–25 yr | Batteries fail in 1–2 yr | Long, higher-risk parts |
Maintenance | Very low | High — batteries, panels | Low, but electrician needed |
Safety | Very safe (12V) | Very safe (12V) | Shock and fire risk; conduit |
Install | Buried wire, no electrician | No wiring | Conduit plus electrician |
Cost | Moderate — best value | Cheapest up front | Highest |
Control | Full — zoning, dimming, color | Almost none | Limited |
Best for | Whole-property systems | A few accents | Rare long or high-power runs |
Brass Fixtures and LED Lamps
The fixture is the part that lives outside in the weather, the sprinklers, and the mulch for a decade or more, so what it is made of decides how long it lasts.
We install solid brass and copper fixtures. Solid brass holds up to soil and moisture for 15 to 25 years and weathers to a soft patina that looks better with age. Aluminum and plated fixtures are cheaper, often $15 to $40 each, but corrode within three to five years, especially where irrigation hits them daily. Solid brass runs $80 to $300 per fixture and is worth it.
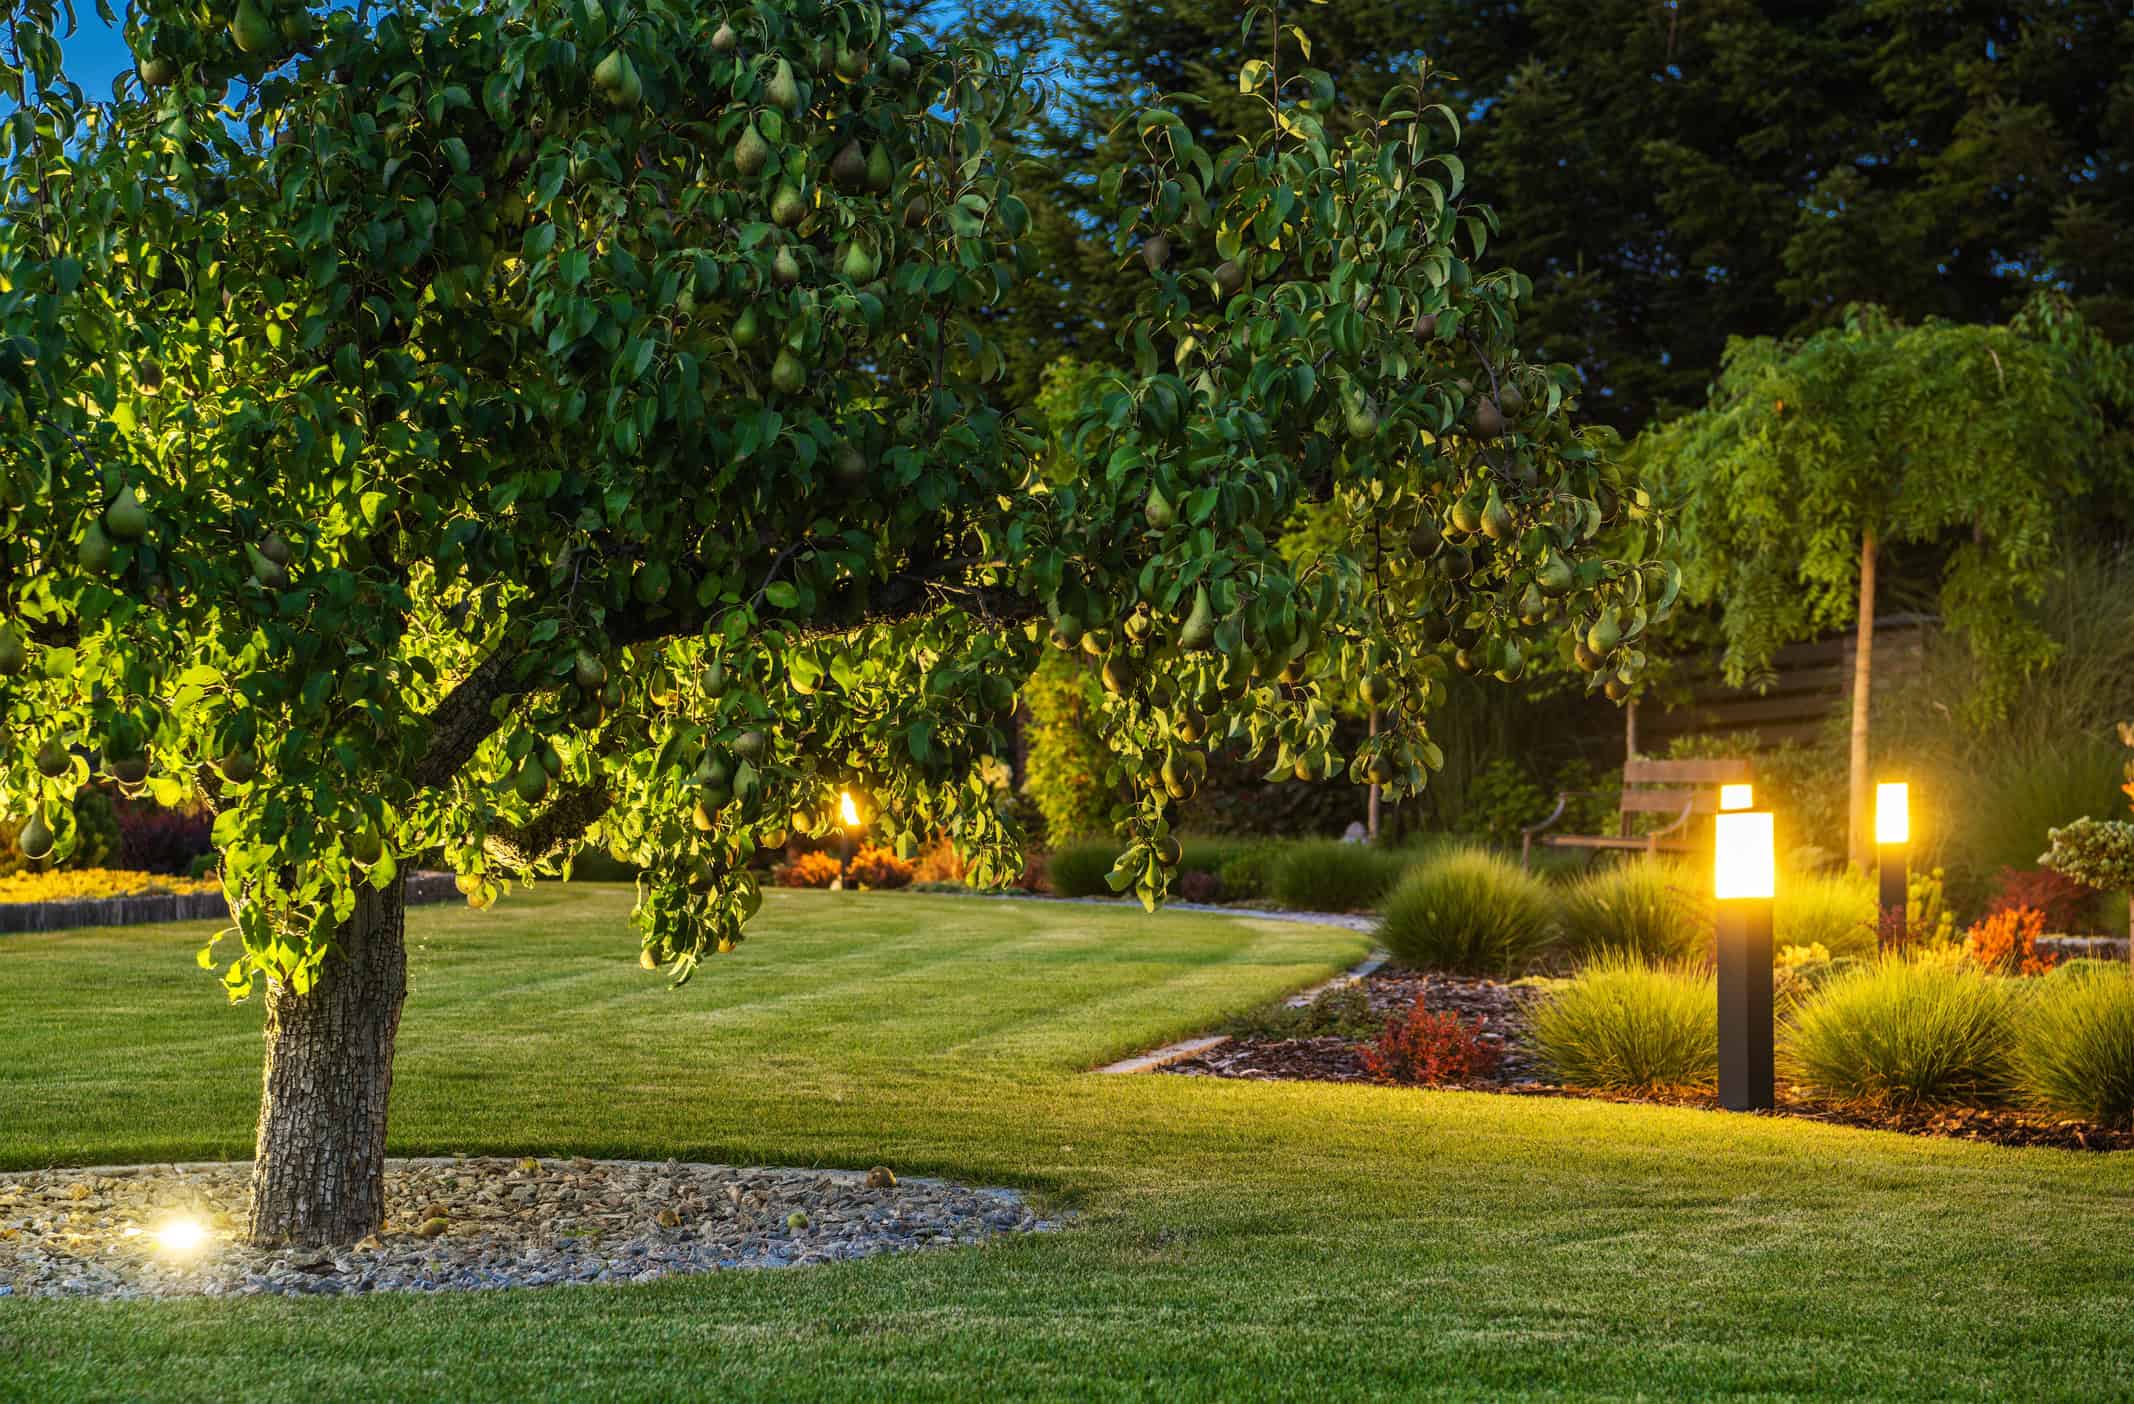
Every lamp we install is LED. It draws about 75% less electricity than old halogen bulbs and lasts 25,000 to 50,000 hours, so you are not up a ladder swapping bulbs — and one small transformer can run far more fixtures.
Output is matched to the job: a path light puts out 100 to 300 lumens, a well light around 100, and a bullet uplight can push 1,500 lumens, enough to wash the face of a two-story house.
The Transformer and the Wiring
The transformer is the heart of the system. We hide it near the house, often by the AC unit, and size it so the fixture load never tops about 80% of its rating, which leaves headroom for adding lights later and keeps it running cool.
Sizing the Transformer
The math is simple: add up the wattage of every fixture, multiply by 1.25, and pick a transformer at or above that number. Forty 3-watt fixtures is 120 watts, times 1.25 is 150 watts, so a 150W transformer is the floor.
Wire and Depth
Wire matters more than people expect. We run 12-gauge direct-burial cable to carry the load with less voltage drop, buried at least 6 inches deep to meet code and stay clear of shovels and edgers.
Why Connections Fail First
Every connection is made with a waterproof, gel-filled connector rated for burial, never a regular wire nut. A bad connection is the number-one failure point in DIY systems, and it is the first thing we check on a repair call.
With the hardware sorted, the look comes from how the light is placed.
Lighting Techniques That Create the Look
The difference between a yard that looks lit and a yard that looks designed is technique. We place each fixture for a specific job, not just to spread light around.
Uplighting
How We Place It
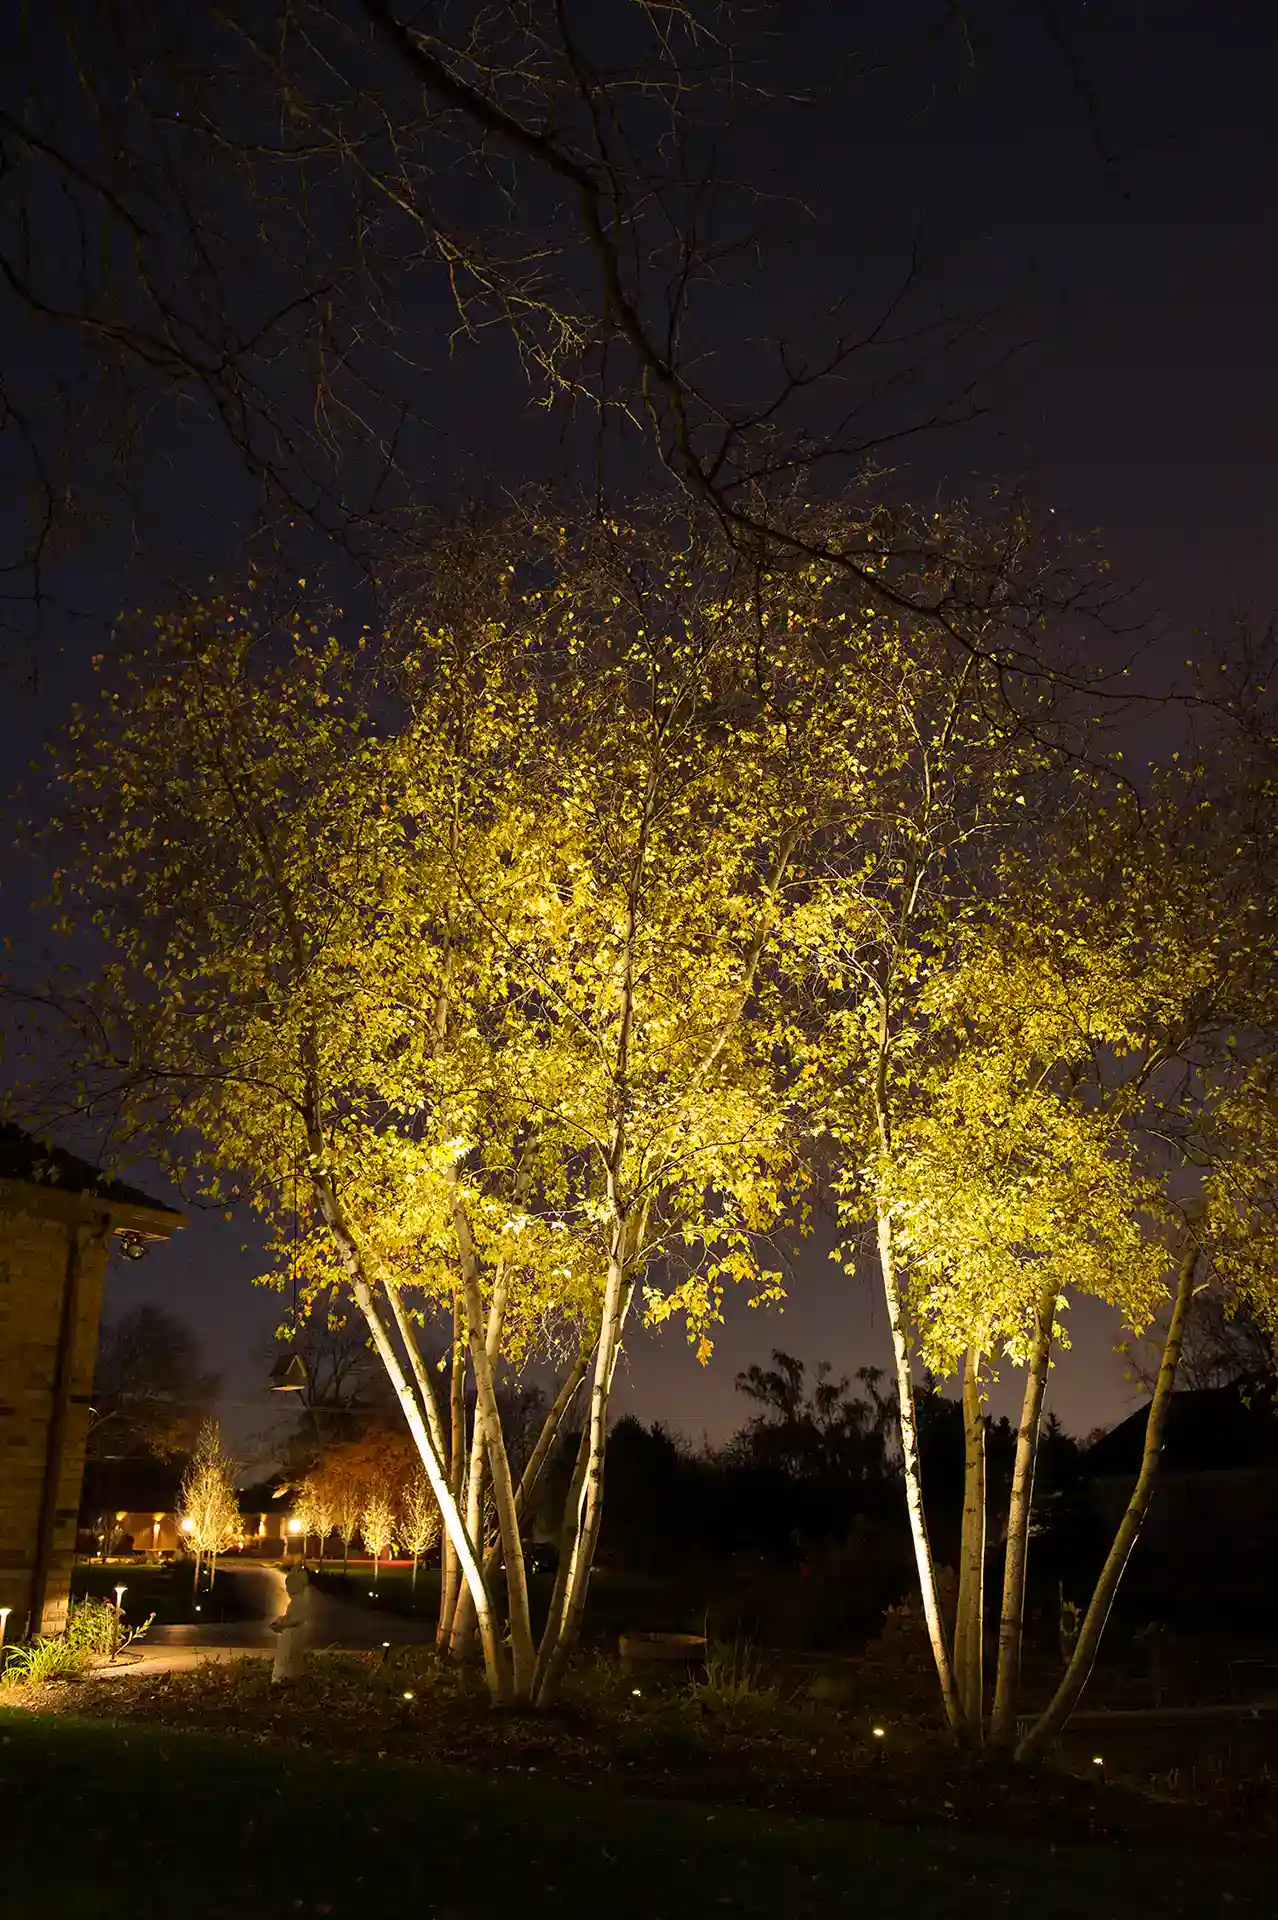
We set a fixture at ground level and aim it up a tree trunk, a stone column, or the corner of the house, usually 1 to 2 feet from the base at a 45 to 60 degree angle.
Uplighting shows off form and texture and creates the strong focal points that carry the whole scene. It is the workhorse technique on most of our installs.
Uplighting a few specimen trees and the facade transforms a front yard; the rest of the techniques build on it.
More Techniques
A handful of other moves round out a design:
Moonlighting and Downlighting
We mount a fixture high in a mature tree, 20 to 30 feet up, and aim it down. The light filters through the branches and drops soft, dappled shadows on the lawn and patio, exactly like a full moon — the most natural-looking effect we do.
Path and Step Lighting
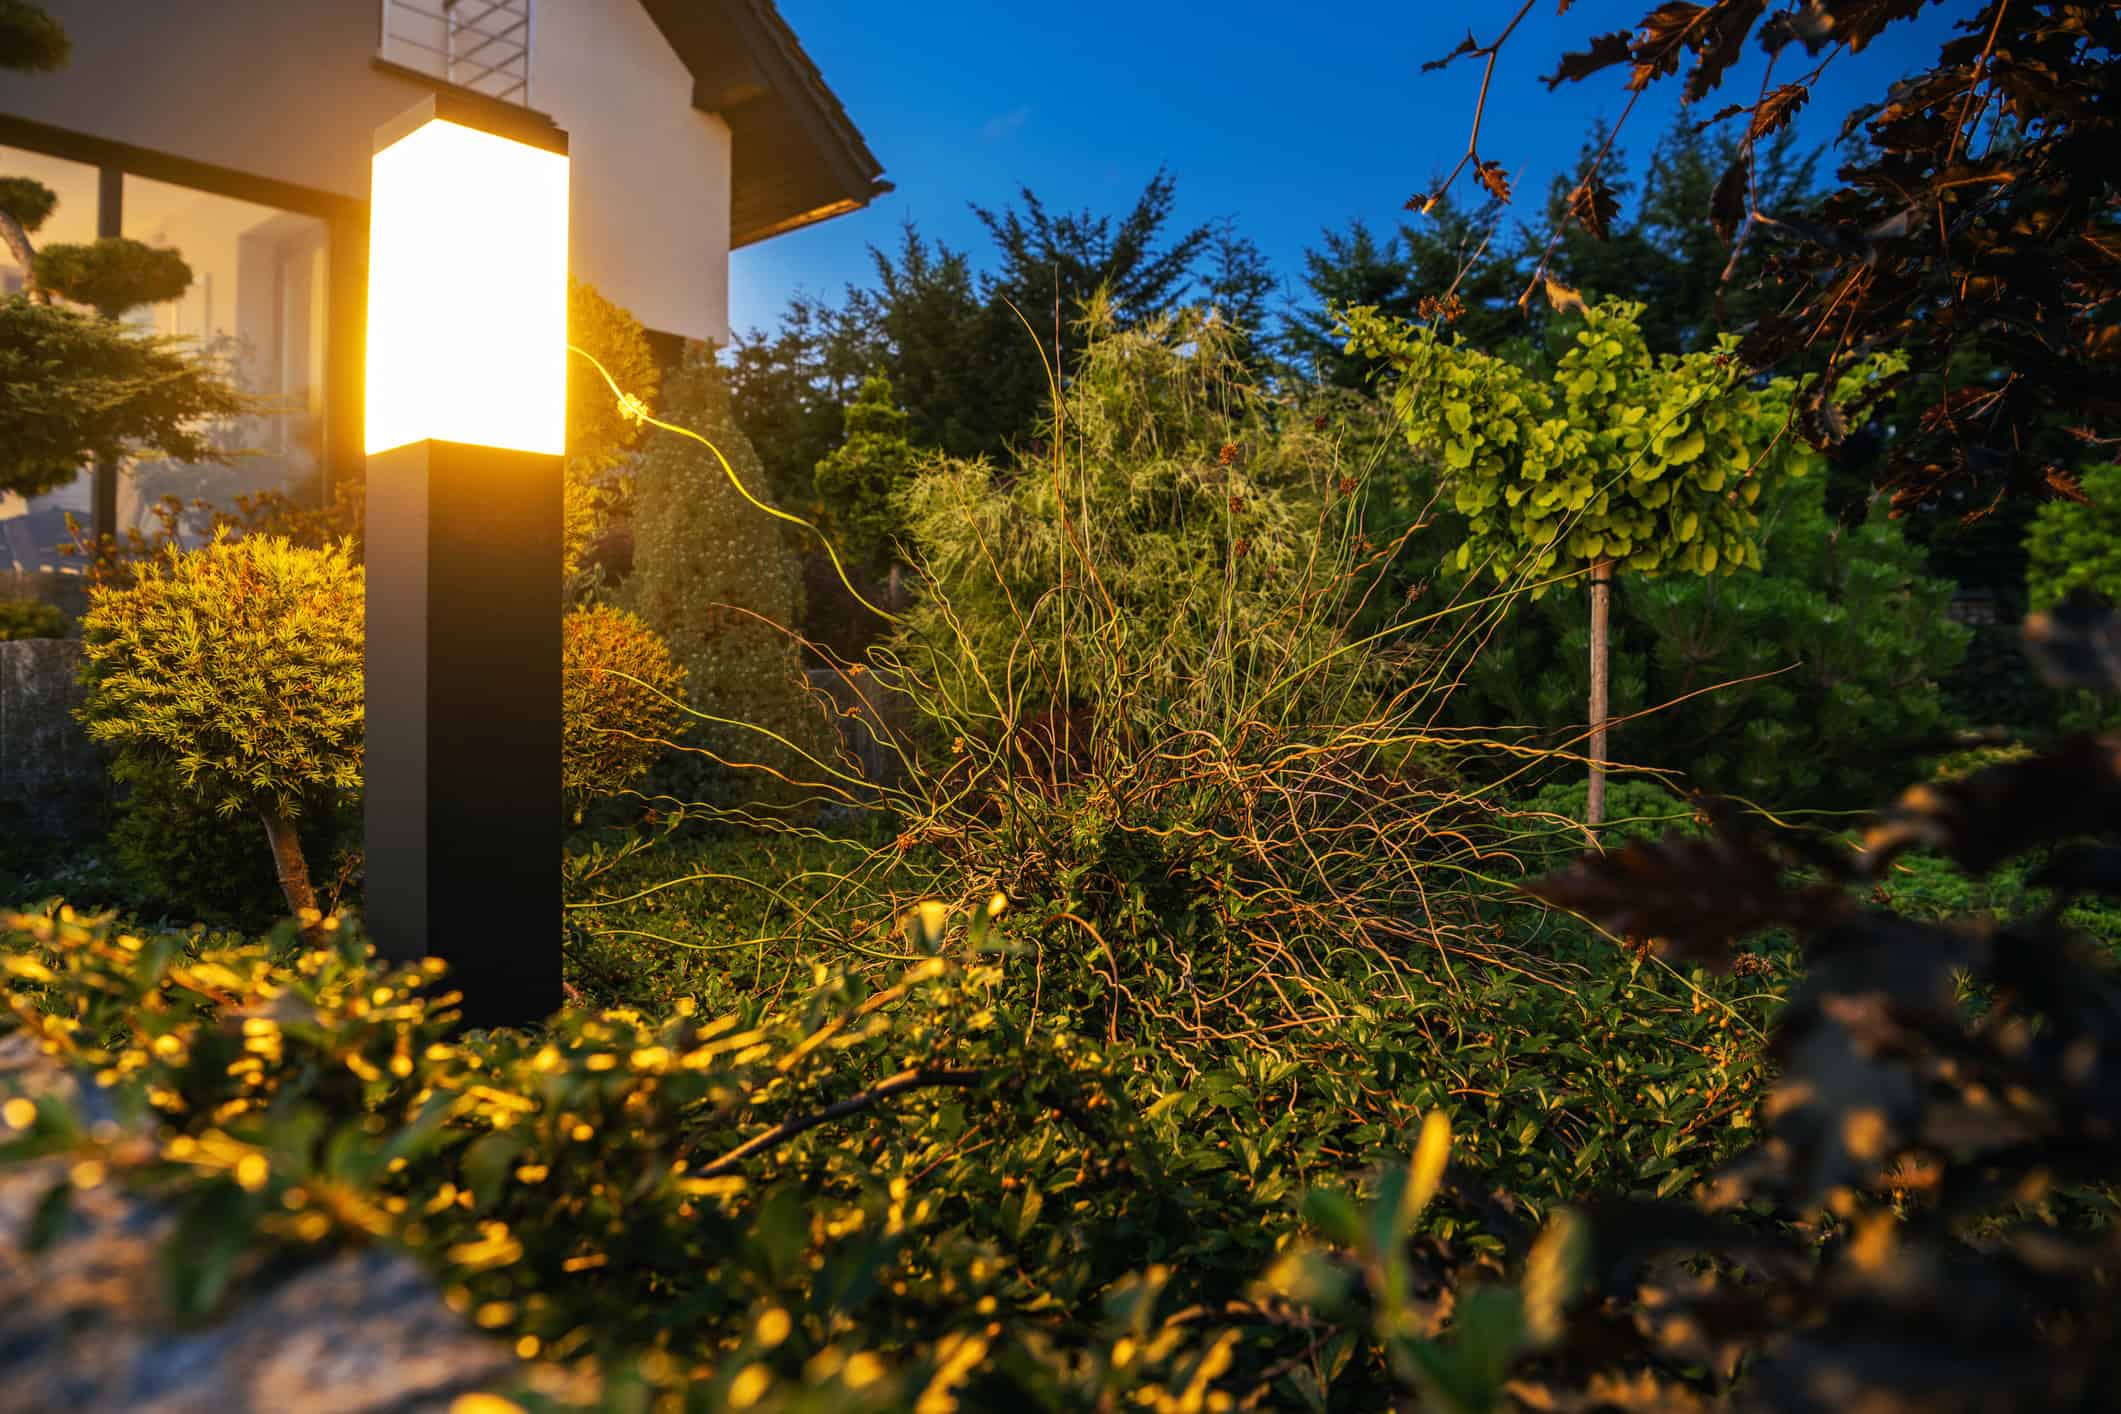
Path lights sit low along walkways and cast a soft pool downward, staggered and spaced 8 to 10 feet apart so the light overlaps evenly instead of looking like runway spots. Step lights tuck into risers and walls for safety.
Wall Washing and Grazing
Wall washing lays an even glow across a flat facade; grazing sets the fixture tight to stone or brick and rakes light up so every joint and shadow pops. Same wall, two different moods, chosen by how close we place the light.
Getting the Brightness Right
More lumens is not better — matching output to the target is what looks right. A path light wants 100 to 300 lumens; a big oak uplight wants 300 to 700 or more.
One Warm Color Temperature
We install warm 2700K light on nearly every job. It flatters brick, wood, and stone; cool blue-white light looks harsh and dates fast. Holding one temperature across the property is what makes it read as a single design.
Layered at different heights and held to one color, a yard gains the depth that separates a professional install from a row of stakes.
That is the whole game: a few techniques, placed well.
How to Size the Transformer
The transformer is the heart of the system. Size it wrong and you either starve the far lights or pay for capacity you never use. Here is the math we run on every job.
Add up the wattage of every fixture. An LED path light draws 3 to 5 watts; an LED uplight 4 to 7. Twenty fixtures averaging 5 watts is 100 watts of load. Then add headroom — we size a transformer to run at about 70 to 80 percent of its rating, never maxed out. A 100-watt load wants a 150-watt transformer, not a 120. The headroom lets you add lights later and keeps the unit running cool.
Buy a multi-tap transformer, one with 12, 13, 14, and 15-volt terminals, not a single 12-volt output. Those taps are how you beat voltage drop on long runs. A single-tap transformer is a red flag — it means nobody planned for the far end of the wire.
When you can skip a pro: four or five path lights off a small plug-in transformer is a real DIY job. You do not need us for that. It earns a pro once you cross about ten fixtures, multiple runs, or a big property where tap selection starts to matter.
Wire Gauge and Voltage Drop
This is the part cheap installs get wrong, and it is why the lights farthest from the transformer look dim a year later.
Low-voltage wire comes in gauges — usually 16, 14, 12, and 10. Lower number, thicker wire, less resistance. For most residential runs we use 12-gauge; it holds voltage over distance far better than the 16-gauge in box-store kits. On long runs to the back of a property we step up to 10-gauge.
Voltage drop is the problem the gauge solves. Every foot of wire bleeds a little voltage, so a fixture 100 feet down a thin wire might see 10 volts instead of 12 — dimmer, and the color shifts. The fix is three things together: thick enough wire, the right transformer tap (run the far zone off the 14 or 15-volt terminal), and smart wiring. We use the hub method — home runs from the transformer to a hub near each cluster of lights — instead of daisy-chaining every fixture on one line, where the last light always loses. The target is keeping every fixture within about half a volt of the next.
Matched wire gauge, a multi-tap transformer, and hub wiring are what keep a system looking the same on year five as it did on night one.
Color Temperature and Brightness
Two numbers decide how the light actually looks: color temperature and lumens.
Color temperature is measured in Kelvin. Outdoors you want warm white — 2700K is the standard, a soft natural glow that flatters brick, stone, and plants. 3000K is a touch cooler; we use it on modern white or gray homes. Stay away from 4000K and up — that blue-white security-light look is harsh outdoors and makes green foliage look gray. Pick one temperature and hold it across the whole yard.
Lumens is brightness, and more is not better. A path light only needs 40 to 100 lumens; push it to 300 and you have built a runway. Uplighting a two-story tree wants 150 to 300 lumens with a narrow beam. The goal outdoors is restraint — pools of light and shadow, not a floodlit yard. Crank every fixture bright and you lose the depth that makes good lighting look expensive.
Low-Voltage Lighting in North Carolina Clay and Heat
Most lighting guides are written for anywhere. This one is not. What we deal with here in the Raleigh suburbs changes how you build a system that lasts.
The soil is clay. We live in a swamp made of clay — none of us have good dirt. Low-voltage cable only needs to go a few inches down, but cutting a clean trench in dry summer clay is brutal, and cable laid too shallow gets sliced by the first edger. We bury along bed lines and under mulch where the ground stays workable, and we run it before the mulch goes down.
The summers are hot and humid, zone 7a and 7b. Aluminum and plastic fixtures corrode, fade, and crack in a few seasons here. That is the whole case for solid brass and copper — they do not rust, they shrug off humidity, and they patina instead of failing. In our climate brass is not a luxury upgrade; it is the difference between a system you install once and one you replace in five years.
The weather comes in bursts — summer storms, the tail of the occasional hurricane, big swings. Connections are where systems fail, so we use sealed waterproof connectors, never the pierce-point clips that let water in and corrode the copper.
Maintenance and Troubleshooting
Low-voltage lighting is low-maintenance, not no-maintenance. Once a year, walk the system at night. Wipe the lenses — a filmed lens can cut output in half. Re-aim anything a mower or a growing shrub has nudged, and check that the timer still matches the season’s sunset.
What the common problems mean: one fixture out is usually a bad bulb or a corroded connector at that light. A whole run gone dark points to the transformer breaker, the timer, or a cut wire. Far lights that are dim or slightly blue are voltage drop — a design fix, not a bulb. Flicker is usually a loose connection or a transformer running too close to its limit.
When to call us versus do it yourself: swapping an LED lamp or wiping a lens is a homeowner job — you do not need a service call for that. Chasing a dead run, diagnosing voltage drop, or repairing water-damaged connectors is where a pro pays for itself. Text us at 984-284-5399 and we will come diagnose it.
What It Costs
Cost comes down to fixture count, fixture quality (brass versus aluminum), and how much wire the layout needs. Rather than repeat the numbers here, we lay out real per-fixture and full-system pricing — and what drives it — in our guide on how much landscape lighting costs in NC.
Smart Control, and DIY vs a Pro
DIY vs Hiring a Pro
The 12V side needs no electrician, so a handy homeowner can install a starter kit — a 150W transformer and 6 to 10 path lights — for $200 to $500. Where DIY falls short is design and durability: kit fixtures are aluminum, the layout ends up as evenly spaced dots, and undersized wire leaves the far lights dim. For a few path lights, buy a kit; for a designed system that still works in fifteen years, a pro earns the fee. We install FX Luminaire and, as a Certified Hunter Lighting Specialist, can add app scheduling, dimming, and color — and we bring demo fixtures out at dusk to light your actual yard before you commit.
Low Voltage Landscape Lighting FAQs
See Your Yard Lit — Free Evening Demo
Anywhere in Raleigh’s southern suburbs — Fuquay-Varina, Holly Springs, Apex, Cary, Garner, Angier, Willow Spring, Lillington, and South Raleigh — we will design a solid-brass, low-voltage system around your home and trees, then prove it before you buy. We bring fixtures out at dusk and light your actual landscape so you see the effect in person. As a Certified Hunter Lighting Specialist installing FX Luminaire, we build systems meant to run for fifteen years and beyond. Call or text to book your free evening demo. If your low-voltage system ever stops working, our landscape lighting repair service can diagnose and fix it — even one we didn’t install.
Sources
VOLT Lighting — Low-Voltage vs Line-Voltage Landscape Lighting
FX Luminaire — Luxor Smart Lighting Control
Angi — Landscape Lighting Installation Cost
