

New House, Blank Yard? Here’s the Order to Landscape It in NC
By Ken Erickson · Updated August 2026
You just moved to the southern Raleigh suburbs – Fuquay-Varina, Holly Springs, Cary, Apex, maybe out toward Lillington. You have got a new house, and like most houses around here it was built on old farmland. So you do not have a lot of trees. You do not have privacy. You are lucky if you have a fence.
Maybe you already went to the big-box store, bought some stuff, and now you are wondering if you did the right thing. Or you are standing on the back porch just looking at the yard, dreaming – I want this here, that there – but you cannot plant yet because it is the wrong season. Here is what I would do first, no matter the time of year.
Key takeaways
- Start with the ORDER, not the plants. Doing a new yard in the right sequence saves you money and years of redoing it.
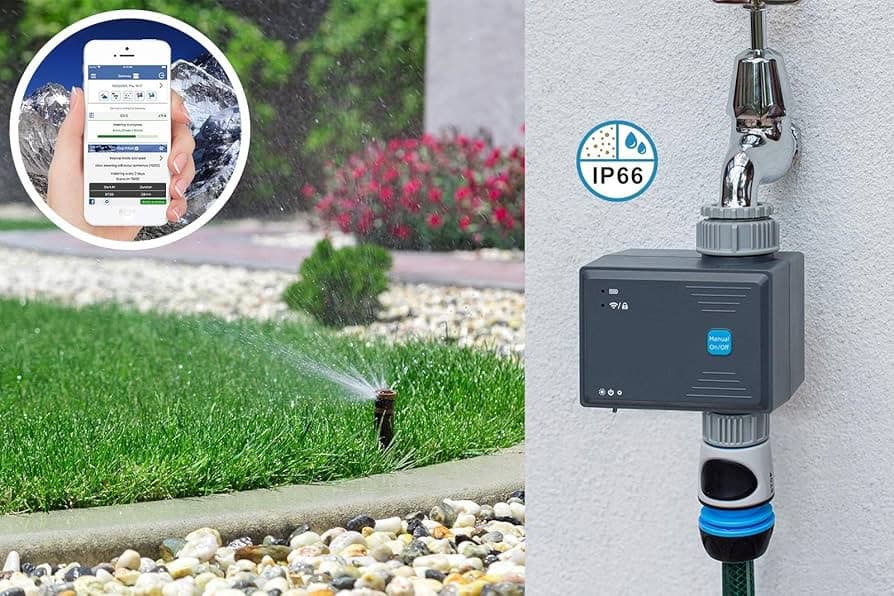
- Trace your beds and run a simple drip irrigation off the tap BEFORE you mulch or plant anything. (We like Linktap Units)
- Kill everything under the beds first – especially Bermuda – while the bed is empty. Once Bermuda is in a mulch bed, it is brutal to remove.
- Plant the big, slow, expensive stuff first: shrubs and trees and get them growing. They need a good two years before the roots are happy.
- Flowers and ground covers are the last layer, not the first, and they will grow nice in one season.
- It is a multi-year job. Year one is the bones; you fill in the detail over the next couple of seasons.
Start with the order, not the plants
The single biggest mistake I see on new-build yards is people buying plants first. They grab a cart of shrubs on a nice Saturday, get them home, and then figure out where they go. That is backwards, and it is expensive. A yard done in the right order – beds, water, weed kill, mulch, then plants, big to small – costs less and looks right the first time. Do these steps in sequence and you will not be digging things up in three years. Start with the structure instead — your anchor plants — and build out from there.
Step 1: Fence first, then plan a perimeter bed
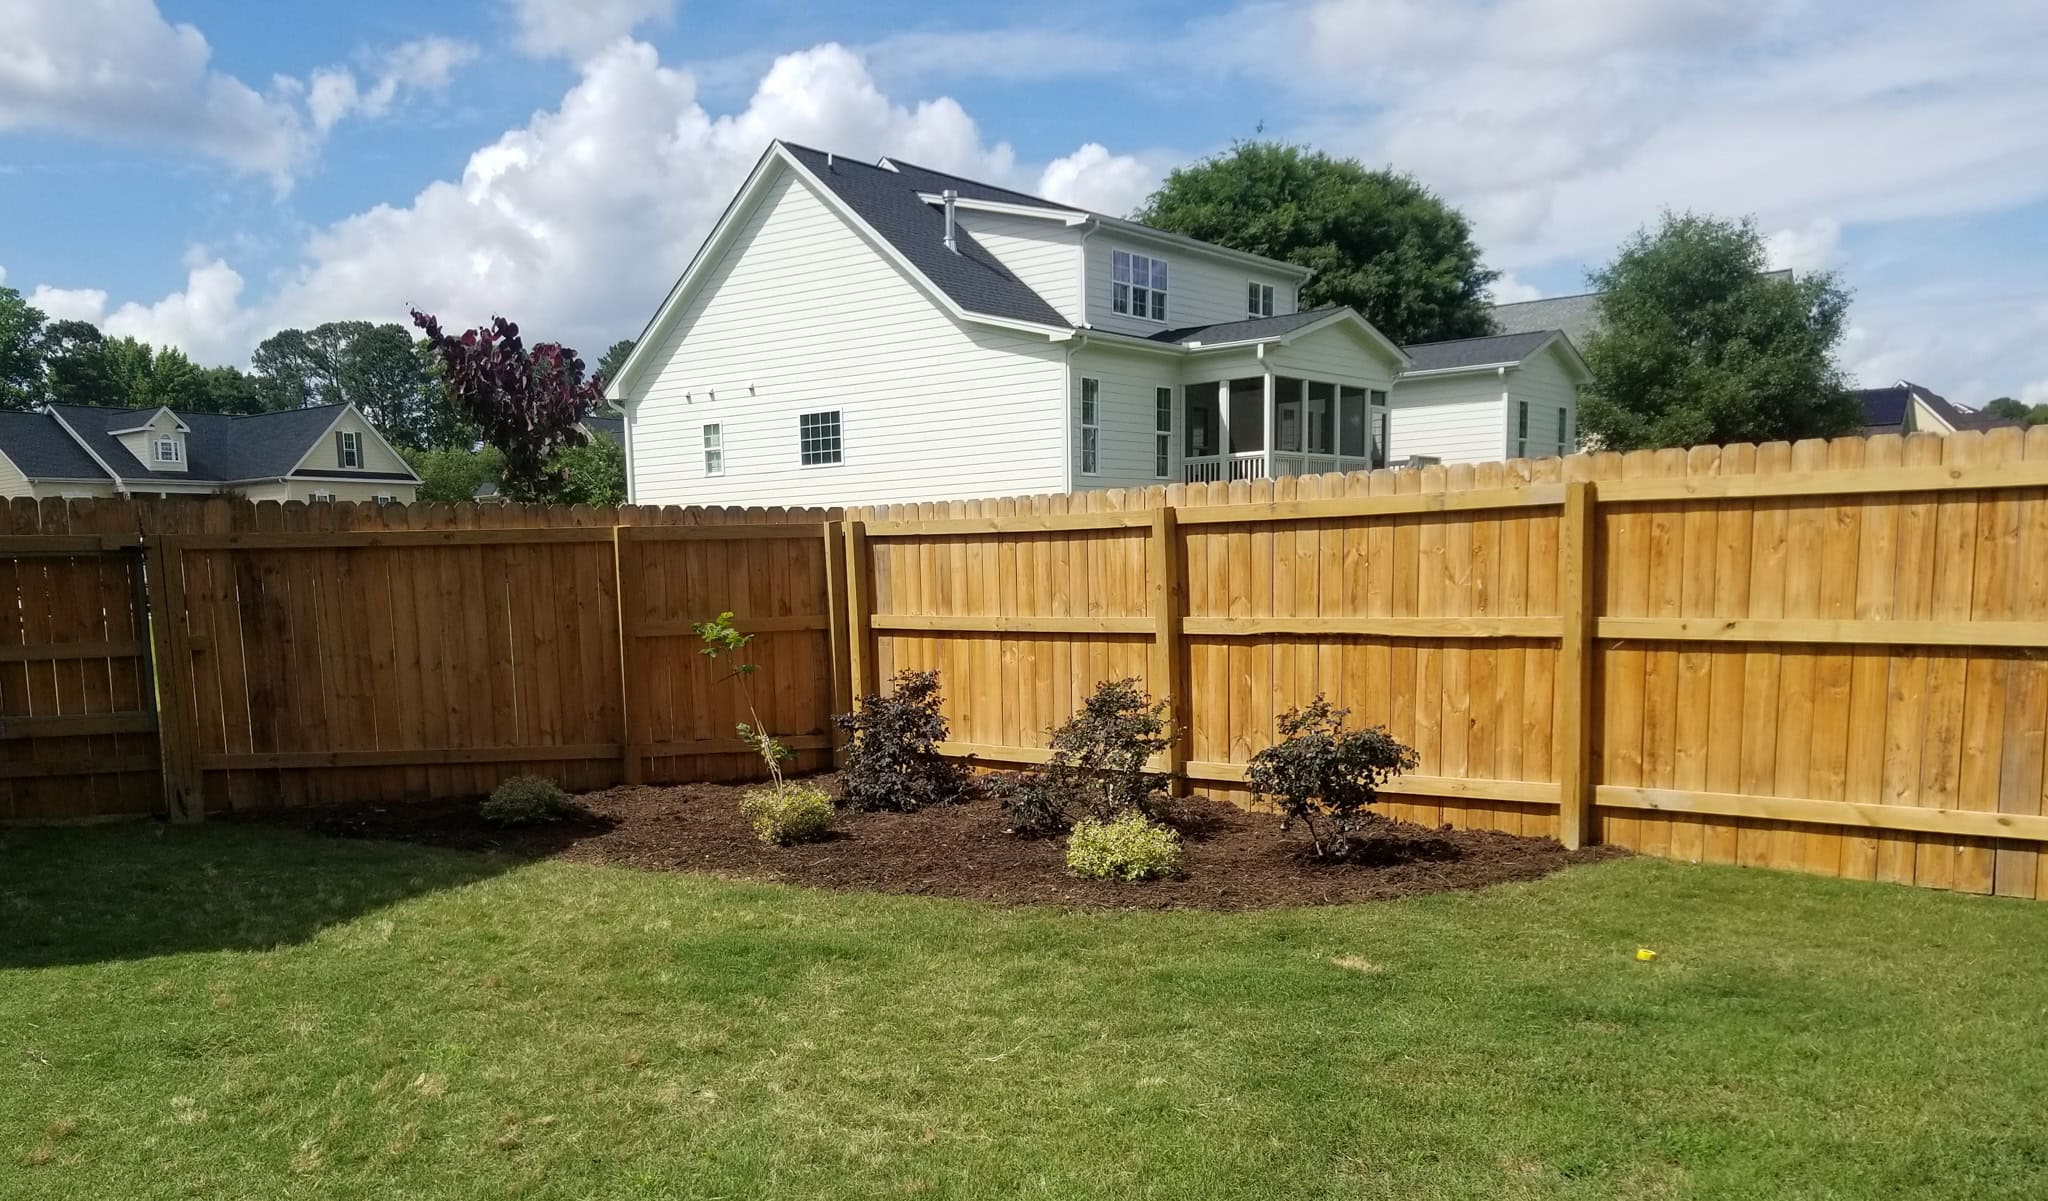
If you want a fence, put it in before you design beds – your privacy planting and bed layout key off the fence line. Then plan a bed around the perimeter of the yard. Privacy plantings go on the sides. If the back of your lot is wooded, do not fight it – very little grows under established woods, so just mulch it clean and tuck in a few low shade plants so it reads finished.
Step 2: Trace the beds before you buy anything
Get the shape on the ground before you spend a dollar on plants. Use marking paint – the upside-down spray can from the hardware store – or lay out a garden hose, or run a string line. Whatever method you like. Walk it, look at it from the porch, tweak the curves. Figuring out the bed shape first is free, and it drives every decision after it.
Step 3: Run the irrigation before the mulch
This is the step everybody skips and regrets. Run your drip line – half-inch line around every bed, right along the ground, held down with landscape staples – before the mulch goes down and before the plants go in. It is a nightmare to retrofit irrigation into a finished, planted bed. Do it now while the bed is bare dirt and it takes a fraction of the time. New shrubs and trees need steady water their first year, and drip is how you keep them alive without standing there with a hose. Irrigation hose is $20/100 ft, inexpensive, and you can install it anytime. Don’t plant all the shrubs and think you are getting out there everyday with the hose. Maybe the first couple, but then it takes a lot of time once you have twenty. You do not want to be putting irrigation in when it is a hundred degrees to save everything! Brutal…
Step 4: Kill everything under the beds first
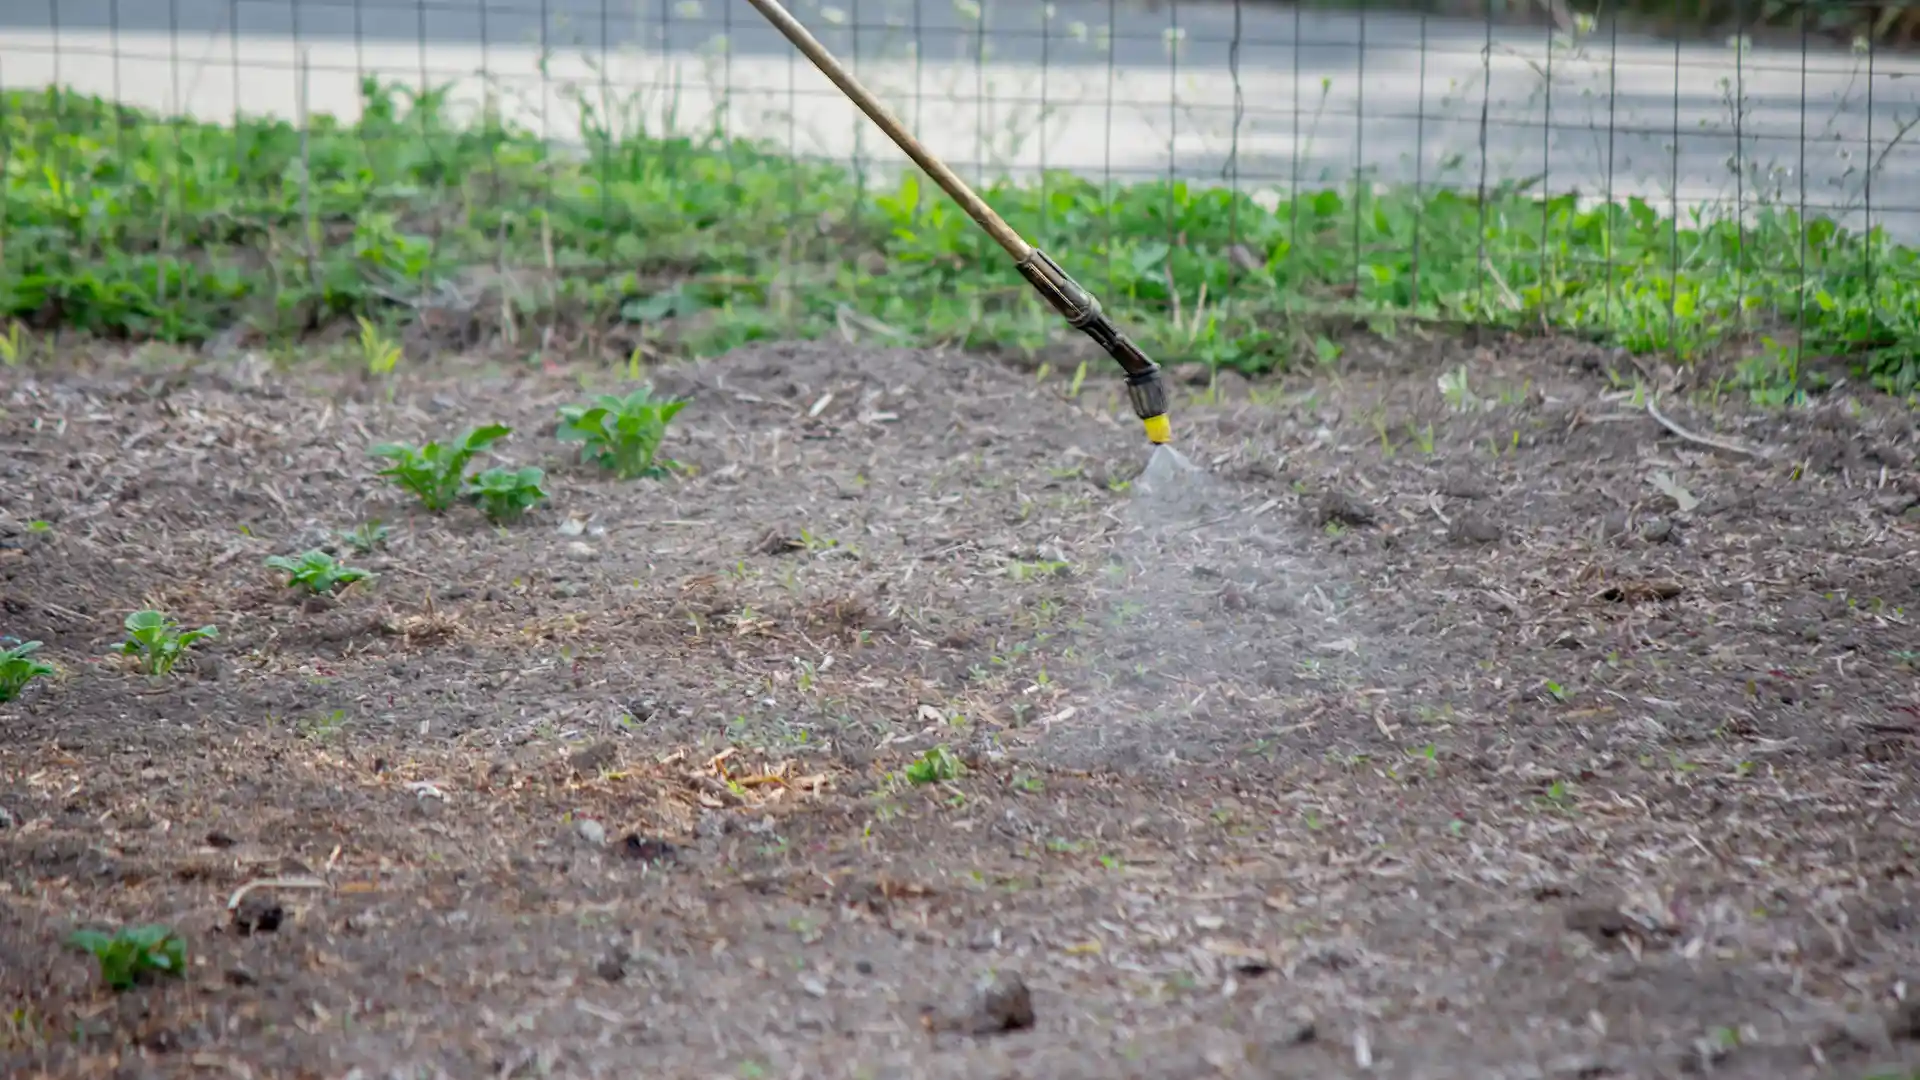
Before anything goes in, kill whatever is growing in the bed with a non-selective herbicide – and I mean especially the bermuda. You do not want bermuda grass coming up through a fresh mulch bed. Once it is established in the mulch, it is brutal to get out.
Here is why timing matters: you cannot spray glyphosate freely once your shrubs and flowers are in the ground. Some plants – camellias especially – are sensitive to it near their roots, so after you plant you are stuck hand-weeding. Kill the grass and weeds now, while the bed is empty and you can spray without hurting anything.
Step 5: Mulch, then plant shrubs and trees first
Mulch the beds. Then dig your holes and plant the big stuff first – shrubs and trees, not flowers, not the little detail plants. The big, slow, expensive material goes in first so it gets in the ground, gets watered, and starts growing the soonest. Yes, you will throw some dirt on top of your fresh mulch digging holes. Do not fixate on it looking perfect – you top the mulch off at the end. We are roughing it here; we are starting out.
Step 6: Plant with organic matter, mind the pH, and space them right
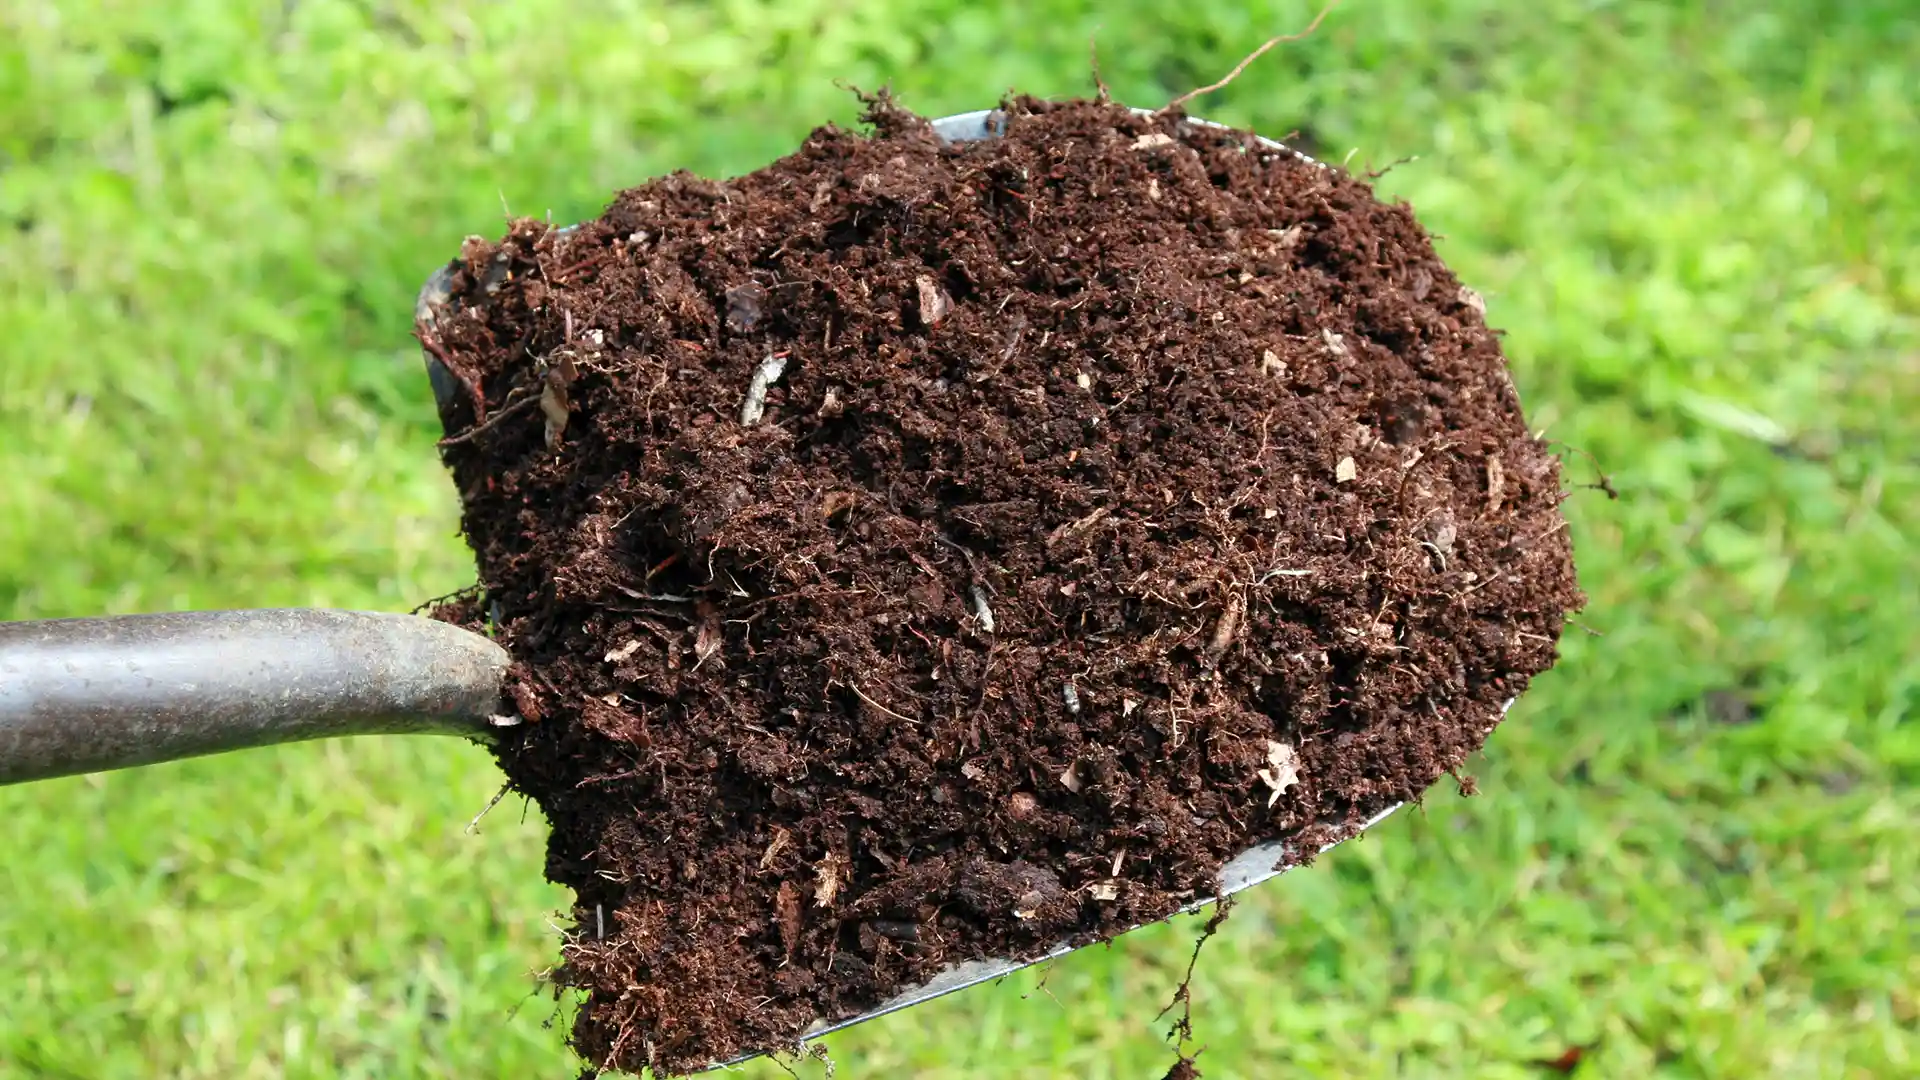
Mix organic matter into the backfill when you plant, so a low, steady level of nutrients feeds the roots as it breaks down. One caution: go easy on cow manure – it lowers soil pH, and acid-sensitive plants will not like it. Use topsoil for those, or correct with lime. Match the amendment to the plant.
And space everything by the label. Planting too close is the cheapest mistake to avoid and the most common one I fix. Cram shrubs together and in about three years you are digging up the very root system you paid to grow – and a transplant sets a plant back a couple of years. Give them room to hit their mature size.
The multi-year plan
You cannot do a whole yard in one weekend, and you should not try. Pace it over a few seasons:
Year | Focus | What goes in |
|---|---|---|
Year 1-2 | The bones | Beds traced, drip run, mulch down, then trees and shrubs – the big, expensive material |
Year 2 | Definition | Grasses and easy perennials; stone or metal edging to keep bermuda out; widen beds as shrubs fill in |
Year 3 | The finish | Ground covers and small flowering perennials – the detail layer, once the structure is set |
That is the honest timeline. The bones cost the most and go in first; the pretty detail work comes last, once you can see how the structure filled in.
Do it yourself, or call us
A lot of this is genuinely DIY. You can trace your own beds, lay your own drip line, and spread your own mulch on a couple of weekends – and I would rather you do that than overpay. Where folks bring us in is the plan and the heavy installs: laying out a whole blank lot so the scale and spacing are right the first time, running irrigation across the property, and planting the big trees and shrubs. If that is where you are, text us at 984-284-5399 and we will help you get the bones in right. If you would rather not, we handle the whole landscape installation and the ongoing landscape maintenance.
Frequently Asked Questions
Blank Lot and Not Sure Where to Start?
We plan new-build yards in the right order – beds, irrigation, and the big trees and shrubs first – so you get it right the first time. Text us to get the bones in.
Sources
NC State Extension – Carolina Lawns and landscape planting guides
NC State Extension – Mulching Trees and Shrubs
